Reward
- 2 Quest Points.
- 7,000 Crafting XP, 7,000 Magic XP, 7,000 Mining XP, 7,000 Firemaking XP.
- Akthanakos' Camulet.
- Ability to talk to Camels. |
 Start Point Start PointSouth of the Bandit Camp (desert) in Shantay Desert Members Only |
Difficulty:

Length:
|
Requirements
Skill: 39 Magic, 43 Prayer, 45 Firemaking, 50 Crafting.
Item: Pickaxe, Coal Ore, 1-2 Cakes or Bread, Candle, Tinderbox, Chisel, Clay or Soft Clay, Bucket or Jug, Normal Log, Oak Log, Willow Log, Maple Log, Runes to cast several Crumble Undead and Wind/Fire Spells (Bolt or better).
Recommendations
Skill: High Agility (lots of running).
Item: Amulet of Glory, Ring of Charos(a), ~3,000GP, Full set of White Desert Robes, Prayer-Restore Potions, 1 Waterskin(4), Food, Energy Enhancing Items (Potions, Spotted/Spottier Capes), desert POH (faster traveling).
Lazim the sculptor has a sad tale to tell - his days of making art are over, and now all he can do is carp at adventurers as they make a statue for him in the desert. Although, isn't just south of the Bandit Camp (desert) an odd place to be putting up a statue?
Help Lazim out with his artistic endeavours, and learn more as this quest goes deeper into the history of RuneScape than you might expect...
Part 1:
Sculpting a Statue
Step 1
Buy a Shanty Pass and go through.
Magic carpet to Bandit Camp.
Talk to Lazim.
Items needed: All (you won't have to leave the desert at all).
Begin at Al-Kharid and head south to the Shantay Pass. Purchase a pass from Shantay and after heading through the pass, speak to the Rug Merchant. Purchase yourself a magic carpet ride to the Bedabin Camp. Once you arrive here, head south through the Bandit Camp (desert)
 and follow the southern cliff around to the east and to the south then west. You will arrive at the quest start point. Speak to Lazim.
Throughout the quest make sure you have enough Prayer to use Protect from Melee for a few seconds. Also make sure that you are wearing white desert robes to protect yourself against the sun and that you are wielding your pickaxe (except during the brief magic carpet ride). If you are wearing a Ring of Charos(a), you will only need 100gp for the rug ride. Note that the mine near Lazim holds granite and sandstone.
Lazim turns out to be a rather bitter artist who traveled here to sculpt a statue in the middle of the desert to break up the monotony. However, he suffered some sort of injury that prevents him from using a chisel. He asks you for help in creating this statue. Offer to. He will inform you that he requires exactly 32kg of sandstone in order to create the base of the statue. Fortunately, there is a sandstone and granite quarry a short distance to the west.
Step 2
Mine the necessary sandstone.
Take it to Lazim.
Make the statue and place it on the ground.
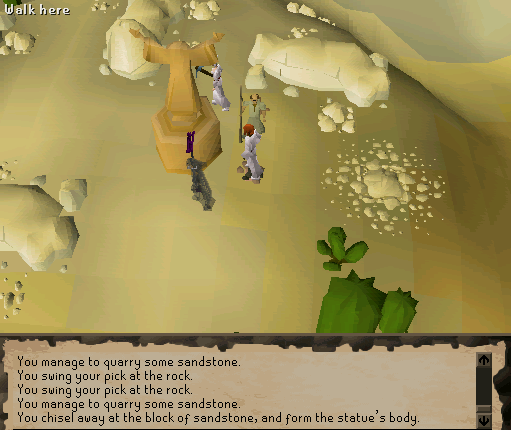
Travel to the quarry and begin mining your chunks of sandstone. You can mine either a 1kg, 2kg, 5kg or 10kg chunk of sandstone. Players with a high Mining level will be able to mine larger chunks of sandstone more often. Also mine one coal and one clay here if you didn't bring any.
Note: You can use your chisel to break larger chunks of sandstone into smaller ones. A 10kg chunk of sandstone breaks down into two 5kg chunks. A 5kg chunk of sandstone breaks down into two 2kg chunks and one 1kg rock. And a 2kg chunk of sandstone obviously breaks down into two 1kg rocks of sandstone.
When you have 32kg of sandstone (or when your inventory is full), return to Lazim and speak to him. He will, after berating your mining ability, accept each chunk one at a time.
Once you have returned 32kg of sandstone to Lazim he will present you with a rough stone base. Use your chisel on the rough stone to create the statue base and legs. Now use the statue base on the patch of flat ground just near Lazim (Picture).
Step 3
Talk to Lazim and get him 20kg sandstone.
Chisel more of the statue.
Combine the pieces.
Speak to Lazim, and make the 5k head
Talk to him again.
Speak to Lazim again. This time, he needs 20kg of sandstone to create the upper portion of the statue. Return to the quarry and repeat the instructions above. Once you have returned 20kg of sandstone to Lazim, he will give you another crude sandstone block. Use your chisel on it to create the torso and arms of the statue. Use the upper half of the statue on the statue base to create a headless statue and use your chisel on the headless statue to join the two halves together (Picture).
Speak to Lazim again. The last thing needed for the statue is it's head. This time, Lazim will allow you to choose the head of the statue. For players who have completed The Giant Dwarf, you will have a selection where you can tell Lazim a story where you had to do the same thing while in Keldagrim. Lazim scoffs at the artistry of the dwarves stating that they would never travel out into the desert.
The choices for heads include: Lazim, Zamorak, Icthlarin or a Camel; it ultimately doesn't matter which you choose, although you must make the head you said you would. In order to create the head, you will need a 5kg block of granite. Return to the quarry and mine either a 5kg granite or a 10kg granite to break down with your chisel. Use your chisel on the 5kg granite to make your head. Also grab another 5kg block of granite for later on.
Speak to Lazim again and he will confirm your selection from earlier. Once you are finished with the conversation, use the granite head with the headless statue. Instantly, the ground underneath the statue will cave in, making a giant hole! Since it happens all so quickly, you are helplessly swept into the ground (Picture)!
Part 2:
Shattered Pieces
Step 4
Speak to Lazim.
Cut the limbs of your statue.
Place the limb in the door.
Take the sigil.
As you come to, you will find yourself at the bottom of a giant crypt. Lazim is nearby with the shattered statue lying beside you. Speak to Lazim. He will come clean and explain that he has been searching for this place for many years now and that somewhere inside the crypt is an ancient treasure. He needs someone to bypass all the traps.
 You agree to help him as long as you receive a share of the treasure. Lazim goes on to explain that the doors within this place all require a limb from a human to open the doors. Fortunately, you have the limbs of the nearby statue to use instead of your own arms and legs. Use your chisel on the statue until you obtain both of its arms and legs.
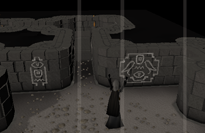
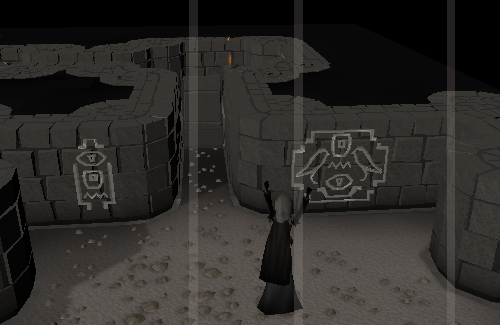
Head to the north until you reach a small room. You will notice a doorway in the western wall with an indentation that matches the shape of one of the stone limbs you carry. If you are not certain which one to use, you may always examine the door to see what limb is needed. Use the correct limb on the doorway. Once you do this, you will immediately get a headache and experience a flashback into the past. In a grainy "silent movie", you will see Enakhra enter the temple and state that place is fit for her lord. After the flashback ends, head west down a long hallway until you reach the next room. You will find a "Z" sigil laying on top of a pedestal. Take this item.
Step 5
Keep placing limbs in doorways and taking sigils.
Use sigils on corresponding doors.
Continue to the next room, then talk to Lazim.
Attempt to place the head on the pedestal.
Talk to Lazim again.
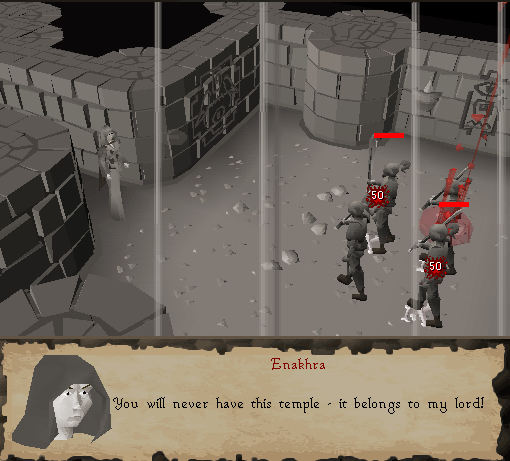
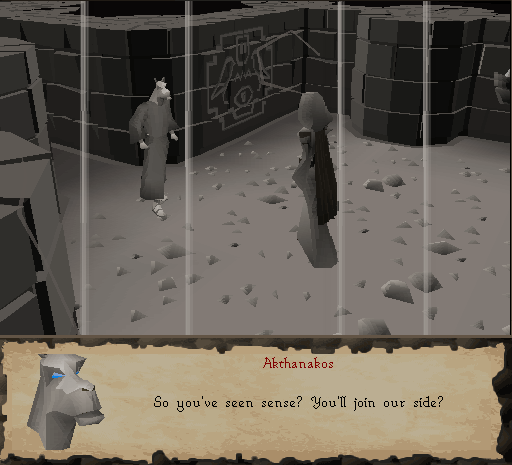
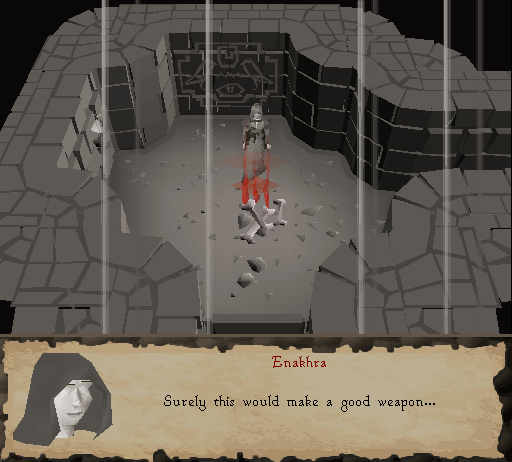
Continue around the perimeter of the crypt, placing the correct limbs into the doorways and taking the sigils from the pedestals. As you make your way back to the first room, you will have experienced three more flashbacks. Through the flashbacks, you'll see Enakhra battle off a quartet of armoured knights with Ancient Magicks (Picture), feign joining Akthanakos' side (Picture) and practicing her necromantic magic on piles of bones (Picture).
Once you have obtained all four of the letter sigils and used up all the statue's limbs, head west towards the central room of the crypt. A doorway will block access to this room. Simply examine the doorway and use the correct sigil with it to open it up. Climb the ladder in the middle of this room. To free up space in your inventory, use the remaining sigils on the other doors while you're here.
When you arrive in the next room you will be near a pedestal with a head indentation. Five hallways stretch off to the west, north-west, north-east, east and north. The passageway to the north is blocked by a wide magical barrier. Return to Lazim on the bottom level and talk to him about the pedestal. After a brief conversation, he will hand you the head of the statue that he kept for safekeeping. Return to the pedestal and use the statue head with pedestal. You will find that the head will not fit. If you return to Lazim, he will suggest that you use something soft and pliable to create a head mould and use this while crafting a granite block to make a new head.
Step 6
Create the mould, then camel head.
Place the head on the pedestal.
Talk to Lazim.
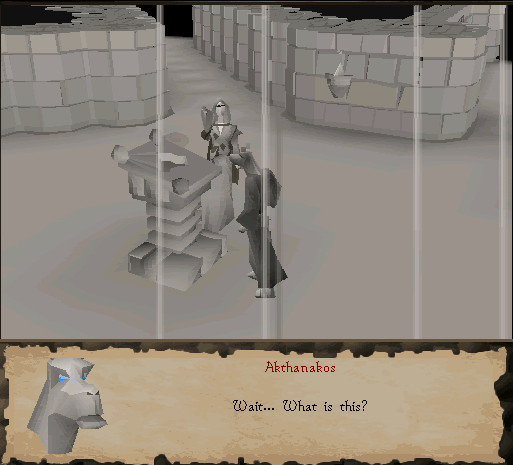
Return to the pedestal and use your soft clay with it to create a head mould. With the mould in your inventory, use your chisel on your extra 5kg granite block to craft a camel's head. Use the head with the pedestal to place it into position. The instant you do this, you will experience yet another flashback. In this flashback, you will see Akthanakos approach the pedestal you are near questioning what something is (Picture).
Suddenly, he is trapped inside a block of ice as Enakhra announces her betrayal. She will never follow anyone other than Zamorak. When you come to, Lazim will be standing next to you. When you speak to him, he will explain that you will need to solve four puzzles in order to weaken the magical barrier to the north to venture deeper into the crypt.
Part 3:
Ancient Orbs
Step 7
Fuel the braziers and examine the pedestal.
Melt the ice with a fire spell.
Examine the central pedestal.
Note: Perform this puzzle quickly (or light your candle). If you stay in the darkness too long, you will receive a message that you hear the sounds of insects scuttling on the ground. Eventually, you will receive many hits for one point of damage much like being in the Lumbridge Swamp Dungeon without a light source.
Head down the eastern passageway. The further you get in, the darker it will become. At the end of the passageway are six braziers: three lined against the northern wall and three against the southern wall. Click one of the braziers to investigate it and see what type of fire once burnt here. Use the appropriate fuel (normal log, oak log, willow log, maple log, coal or candle) on the appropriate brazier.
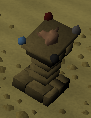
As long as you have a tinderbox in your inventory you will automatically light the brazier when you place the correct fuel in. When you have all six braziers alight, the shadow orb on the central pedestal will be lit if you examine it.
Travel down the western passageway and you will find a large fountain at the end frozen over with ice. Your tinderbox will have no effect on the iced over fountain so you will need to use something a little stronger. Click on the fire spell and cast the spell on the fountain. The ice will melt in a cloud of steam and the fountain will be restored to it's previous glory. If you examine the central pedestal after melting the ice, you will find that the ice orb is lit.
Step 8
Talk to Pentyn and give him cake or bread.
Get him to agree, then examine the pedetal again.
Air blast the furnace and examine the pedestal.
Talk to Lazim.
Go through the barrier and up the ladder.
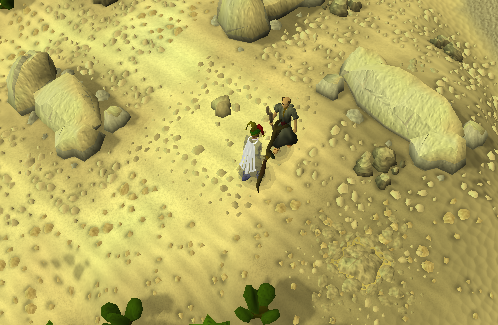
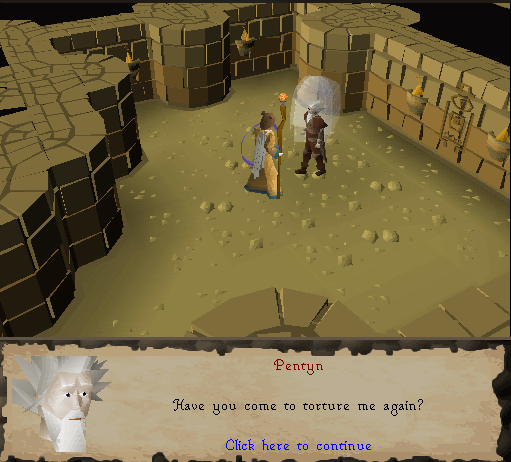
Travel down the north-western passageway and you will find an old man at the end by the name of Pentyn of Avarrocka (Picture). This man has been enslaved for many thousands of years here in the this crypt and has been tortured by the inhabitant constantly. He believes that you are one of the Mahjarrat; you try to persuade him that you are as human as he is. All he wants is some relief from the torture and his hunger; something savoury just out of the oven. Right-click and use a cake or bread on the man and its' sweet tastiness will remind him of his family from long ago. He will agree to help you with the other puzzles in this area of the crypt. If you examine the central pedestal after feeding Pentyn, you will find that the blood orb is lit.
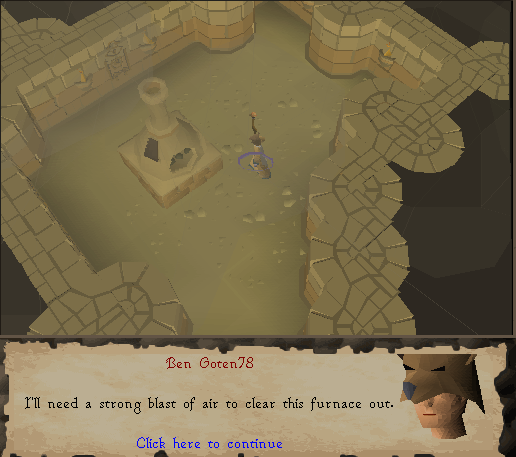
Travel down the north-eastern passage and you will find a large furnace at the end. As you enter the room, huge waves of smoke will begin to assail you. You need to give the furnace a big blast of air to clear it, so cast an air spell on it (Picture). If you examine the central pedestal after clearing the smoke, you will find that the smoke orb is lit along with the other three (Picture).
Return to the central area and speak to Lazim. He will say you that you can now pass through the magical barrier to the north. He warns you to be careful as there are a few more traps to be handled. Click on the magical barrier to pass through it and climb the ladder to the north.
 Part 4:
Freedom at last!
Step 9
Talk to the Boneguard, cast Crumble Undead and climb over it.
Go down the stone ladder.
Run past the Boneguard, turn on Protect from Melee and talk to him.
Agree to help.
When you enter the next room head straight south until you reach the southern side of a large room. Blocking the southern exit is a large skeletal beast called a Boneguard.
 Click on it to speak to it. It will inform you that you may not pass and it will swipe at you, causing minor damage. Cast crumble undead on the Boneguard. It will thank you from releasing it from its imprisonment inside its skeletal prison and then crumble to pieces. Click on its remains to climb over it; then proceed to the south.
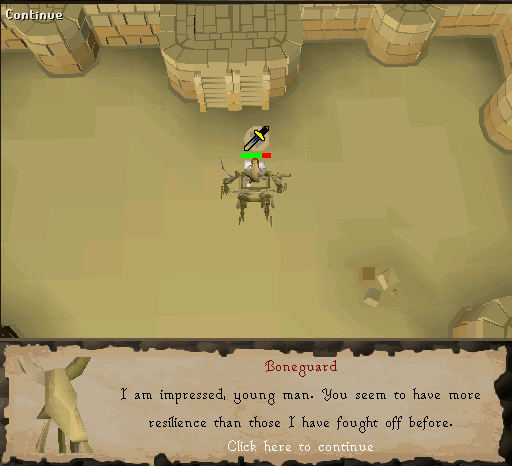
Now head south until you reach an open room and climb down the stone ladder. You will find yourself in front of another Boneguard. When you speak to it, it will say the same thing as the first Boneguard. It will then swipe at you causing minor damage. This time, it will mention as it strikes you that someone so easy to hit is not worth his time. Turn on Protection against Melee and talk to the Boneguard again. The Boneguard will try several times to hit you but your prayer prevents him from hurting you. Seeing that it can't hurt you, it stops and begins to talk to you (Picture).
It is at this time that you learn that Enakhra was the original creator of this temple and that she is the one who entrapped him inside the Boneguard. He goes on to explain that he has been working on building a giant stone wall (to the south) to entrap Enakhra inside the crypt for all time so "she cannot taint the world with her creations again". But he is unable to complete the wall as she has been focusing her magic into controlling his mind. He needs you to complete the wall in exchange for a magical amulet and some knowledge. "Good enough for me", you say and you agree to his request.
Step 10
Get three blocks and put them on the wall and use your chisel on it.
Repeat twice.
 Just to the south-east of the Boneguard is a small pile of rubble. Click on the rubble to pick up three blocks and then use it on the wall. Once you place one rock into position, use your chisel on the wall to set the stone into place. Repeat this two more times.
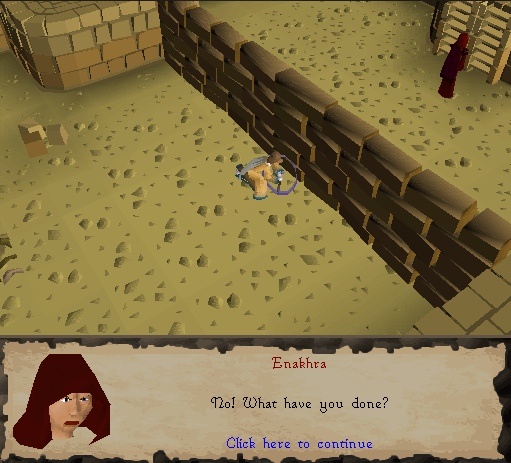
Once the final block is set, Enakhra will notice your work but she will be powerless to prevent you from completing (Picture). With her magic blocked off, the Boneguard is finally able to use his power to break out of the skeletal prison. He polymorphs into Akthanakos, a camel headed god of the desert, and thanks you for freeing him from Enakhra's betrayal. True to his word, he gives you a Camulet which will allow you to speak to the camels in this region.
Just to the south-east of the Boneguard is a small pile of rubble. Click on the rubble to pick up three blocks and then use it on the wall. Once you place one rock into position, use your chisel on the wall to set the stone into place. Repeat this two more times.
Once the final block is set, Enakhra will notice your work but she will be powerless to prevent you from completing (Picture). With her magic blocked off, the Boneguard is finally able to use his power to break out of the skeletal prison. He polymorphs into Akthanakos, a camel headed god of the desert, and thanks you for freeing him from Enakhra's betrayal. True to his word, he gives you a Camulet which will allow you to speak to the camels in this region.
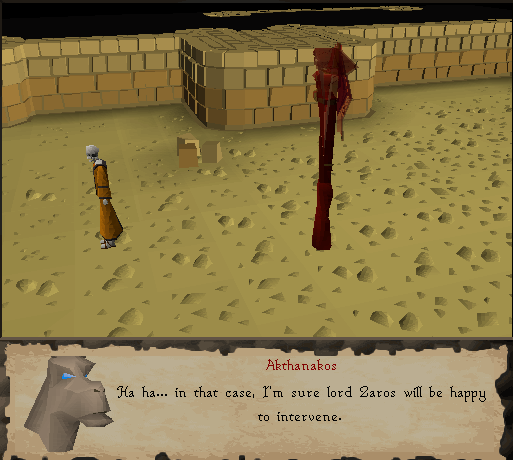
Aftermath: Enakhra shatters the wall that blocked her off and confronts Akthanakos. It is revealed that Akthanakos follows Zaros and he polymorphs into a yellow robed skeleton. Enakhra also transforms into a red-robed skeleton (Picture) and mentions to Akthanakos that she will be waiting for him in the North and teleports out. He states that it will be a pleasure to fight her again and he teleports out also. In the room with the first Boneguard, you will find Lazim wandering around the room. He finally admits that the treasure he was searching for was not gold but rather knowledge. The chance to learn from the first follower of Zamorak would be a priceless treasure, but you ensured that he will never have that opportunity. He confesses to being a Zamorakian mage. Intrigued, you ask him if he will teach you any magic for all of your hard work. Regardless of whether you choose to follow Zamorak or not, Lazim refuses to teach you anything since you ruined his once in a lifetime opportunity.
Frequently Asked Questions
Q: Does it truly matter what head I choose to make while talking to Lazim?
A: No. All Lazim is interested in is creating the weight needed to break into the crypt. Choosing different heads will simply result in different dialogue from Lazim.
Q: When I completed the quest, it said that I only earned 5K experience in the skills in my quest scroll. What gives?
A: You were one of the few people who completed this quest immediately after the quest was first released. This was an error on Jagex's end which was fixed later the same day this quest was released. The quest has always provided 7K experience to the four skills. The old quest scroll was simply incorrect.
Q: The first Boneguard told me to bury his bones so he can rest in peace. Must I?
A: No. It is not required to bury or pick up the five big bones it leaves behind. But, it is free Prayer experience so it's up to you.
Q: What items should I keep from the quest?
A: The Camulet should obviously be kept as it allows you to speak to the various camels throughout Al-Kharid. This amulet may be used in future updates or quests. It can also be used to teleport a player close to the Pyramid where regular and Ancient Magic is switched. Players who actively use Ancient Magic will find this to be a great quest item. Use another soft clay on the pedestal after the quest to obtain a camel mask. All other items from the quest like the letter sigils, chunks of granite and sandstone, stone heads and the head mould can safely be discarded after the quest is completed. All of them can be re-obtained, re-mined or re-crafted.
Q: What experience do I gain from mining sandstone and granite?
A: You gain 50xp for a tiny granite, 60xp for a small granite and 75xp for a medium granite. For sandstone, you receive 30xp for a 1kg sandstone, 40xp for a 2kg sandstone, 50xp for a 5kg sandstone and 60xp for a 10kg sandstone.
Q: How do I recharge my Camulet?
A: To recharge your camulet, go to Pollnivneach and get a bucket of camel dung, then use the dung on your camulet. You may also talk to a camel in Al-Kharid while wearing the camulet to ask for dung.
Q: What level mining do I need to mine granite and sandstone?
A: For granite you will need 45 mining, and for sandstone you will need 35 mining. |


 OSRS RuneScape Help
 RuneScape Community Forums
 Skill Guides
 Quest Guides
 City Guides
 Guild Guides
 Mini Game Guides
 Treasure Trail Help
 Miscellaneous Guides
 Dungeon Maps
 Mining Maps
 Items Database
 Monsters Database
 Shops Database
 Tome/Books Database
 Skill Calculators
 Coordinate Locator
 Zchat Clan Chat


 Stuck on something? Want some more tips? Ask on our forums.

